
You’ve seen those pristine wedding invitations with laser-sharp edges and flawless typography—the ones that scream expensive design studio. Here’s what they don’t tell you: achieving that same polished aesthetic in your home workspace isn’t about talent or expensive equipment. It’s about understanding the technical fundamentals that separate amateur crafts from professional-grade stationery. The right paper weight, precise cutting angles, and strategic color matching transform basic materials into luxury-level designs.
Key Takeaways
- Invest in precision cutting tools like rotary cutters and scoring boards to achieve clean, professional edges and perfectly aligned folds.
- Choose heavyweight cardstock (minimum 110lb) and test print samples to ensure quality before committing to full production runs.
- Master typography hierarchy by pairing one decorative font with a clean secondary font, using consistent spacing throughout your suite.
- Create visual cohesion across all pieces using two primary colors, one accent shade, and repeating design elements like borders or monograms.
- Add professional finishing touches strategically with metallic foils, wax seals, or ribbon accents, testing durability by mailing samples first.
Essential Tools and Materials for Professional-Quality Stationery

Your workspace transforms into a professional stationery studio with the right foundation of tools and materials.
You’ll need precision cutting tools—a rotary cutter with fresh blades, metal ruler, and self-healing mat create crisp, clean edges that define professional work. A bone folder guarantees sharp creases without damaging paper fibers.
Select adhesive options strategically. Double-sided tape provides invisible bonds for layering, while tape runners offer controlled application. Wet glue works for delicate embellishments, and mounting squares add dimension.
Your paper choices establish brand identity—choose cardstock between 80-110lb for structure, vellum for overlay elegance, and textured stocks for tactile luxury.
Invest in quality over quantity. A professional-grade corner rounder eliminates amateur rough edges. Your scoring board assures perfectly aligned folds.
These tools aren’t just purchases—they’re intimate partnerships in crafting stationery that reflects your aesthetic vision and speaks directly to recipients’ emotions.
Mastering Typography and Layout Design Fundamentals

With tools assembled and materials selected, typography becomes the voice of your invitation suite—the visual language that communicates occasion, formality, and emotion before guests read a single word.
You’ll establish visual authority through strategic font pairing, combining complementary typefaces that create dynamic tension without competing for attention.
Master these fundamental principles:
- Primary-Secondary Balance: Select a decorative display font for names, then pair with a clean sans-serif for details
- Contrast Creates Interest: Mix serif headlines with sans-serif body text, or combine script with geometric fonts
- Limit Your Palette: Use maximum three typefaces to maintain cohesion
Your layout hierarchy guides readers’ eyes through information naturally.
Position the couple’s names as your focal point, using size and weight to establish dominance. Support this with mid-level elements like dates and venues, then anchor with smaller details.
White space isn’t empty—it’s breathing room that amplifies your message’s elegance.
Paper Selection and Printing Techniques That Make a Difference

Once typography establishes your invitation’s visual hierarchy, paper selection transforms digital designs into tactile experiences that guests remember long after events conclude.
You’ll discover that paper weight directly impacts perceived value—choose 110lb cardstock minimum for invitations that won’t bend during handling. Cotton paper absorbs ink types differently than standard stock, creating softer edges perfect for romantic designs, while smooth coated papers deliver razor-sharp details for modern aesthetics.
Match your printing technique to your brand’s personality. Digital printing offers cost-effective color accuracy for photographic elements, but letterpress creates dimensional impressions that fingers can’t resist tracing.
Consider how different ink types interact with your chosen substrate—metallic inks pop on dark papers, while matte finishes prevent glare under event lighting. Test print swatches before committing to full runs.
You’re not just selecting materials; you’re engineering sensory moments that communicate care before guests read a single word.
Adding Elegant Finishing Touches and Embellishments

After establishing your paper foundation, embellishments transform flat designs into dimensional art pieces that command attention in any mailbox.
You’ll discover that strategic layering creates visual depth while maintaining your design’s cohesiveness.
Consider these precision techniques for maximum impact:
- Apply metallic foils using heat-transfer methods for crisp, professional edges that catch light perfectly.
- Thread ribbon accents through laser-cut slots, securing with double-sided tape beneath for invisible anchoring.
- Position wax seals at envelope intersections where they won’t crack during postal handling.
Your embellishment placement determines the invitation’s tactile experience.
Position dimensional elements where recipients’ fingers naturally rest when opening. Layer transparent vellum over metallic foils to create subtle shimmer effects that photograph beautifully.
When incorporating ribbon accents, choose widths that complement your typography scale—narrow grosgrain for minimalist designs, wider satin for romantic themes.
Test each embellishment’s durability by mailing yourself a sample first. This guarantees your artistic vision survives the journey intact.
Creating Cohesive Stationery Suites for Every Occasion

When you’re designing multiple stationery pieces for an event, visual consistency across every touchpoint reinforces your celebration’s unique identity and elevates the guest experience from invitation to thank-you note.
You’ll need to establish theme consistency by selecting signature design elements—perhaps a specific border treatment, monogram style, or geometric pattern—that’ll appear across save-the-dates, invitations, programs, place cards, and correspondence cards.
Your color palette serves as the visual thread binding everything together. Choose two primary colors and one accent shade, then apply them systematically: headers in your darkest tone, body text in mid-range values, decorative elements in your accent color.
You’re creating a visual language that speaks intimately to each recipient.
Maintain identical margins, typography hierarchies, and spacing ratios throughout your suite. When you’re addressing envelopes, carry through the same lettering style you’ve established.
This technical precision transforms individual pieces into a cohesive brand experience that feels intentionally crafted rather than cobbled together.
Frequently Asked Questions
How Much Money Can I Save Making DIY Invitations Versus Buying Them?
You’ll typically save 50-75% making DIY invitations. Your budget breakdown: professional cards cost $3-8 each, while you’re spending $0.50-2 per piece DIY. This cost comparison shows significant savings, especially when you’re creating brand-conscious designs for larger events.
How Far in Advance Should I Start Making Invitations for My Event?
You’ll need 8-12 weeks for ideal timeline management. Start designing 10 weeks before mailing, allowing precise production time for printing, cutting, and assembly. Your event planning schedule should include two weeks for addressing envelopes perfectly.
What Mistakes Do Beginners Commonly Make When Creating Their First Invitations?
You’ll often overlook design consistency across elements, creating mismatched fonts and colors that weaken your brand message. Your paper choice might feel flimsy or unprofessional, undermining the intimate connection you’re trying to establish with recipients.
Can I Legally Recreate Designs I Find on Pinterest or Etsy?
Like walking a tightrope, you can’t directly copy designs due to copyright concerns. Instead, use them as design inspiration—transform elements, change colors, and add personal touches to create something uniquely yours that honors originality.
How Many Extra Invitations Should I Make to Account for Errors?
You’ll want to create 20-25% extra invitations beyond your guest count. This cushion covers invitation errors like smudged ink, misaligned cuts, or printing mistakes while ensuring you’ve got pristine samples for your keepsake collection.
Final Thoughts
You’ve mastered the blueprint for professional stationery that rivals any printing press from medieval times. Your toolkit’s complete, typography skills sharpened, and finishing techniques refined. Now you’re ready to create cohesive suites that’ll elevate your brand identity while maintaining technical precision. Remember, it’s the meticulous attention to margins, paper weight, and color consistency that transforms amateur attempts into portfolio-worthy pieces. Your DIY invitations won’t just look professional—they’ll establish your distinctive visual signature.
Share On Pinterest!


Related Posts
Birthday Decoration Ideas: 30+ Stunning Ways to Transform Any Celebration in 2026
Last updated: February 2026 I'll never forget the birthday party that changed everything for me. My best friend handed me a $50 budget and said, "Make…
 Feb 14, 2026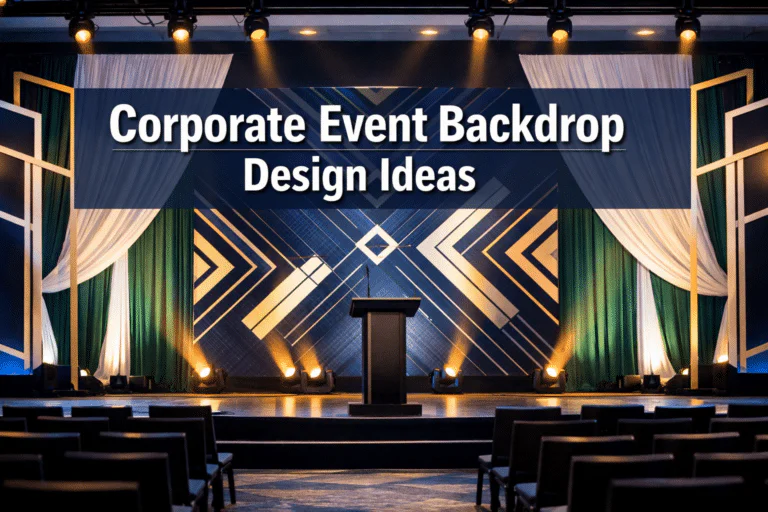
Corporate Event Backdrop Design Ideas That Look Like a Million Bucks
Last updated: February 2026 Picture this: your boss just dropped the news that you're in charge of the next company gala, product launch, or annual conference.…
Feb 12, 2026
How to Plan a Memorable First Anniversary
Last updated: March 2026 Kickstart your first anniversary celebration with creative planning tips that will transform this milestone into an unforgettable experience you'll always cherish.
Mar 12, 2026
Home Birthday Party Decor Ideas for Adults: 20+ Stunning Ways to Celebrate at Home Like a Pro
Last updated: February 2026 Let me tell you something most people overlook: you don't need a rented venue to throw a jaw-dropping birthday celebration. Your living…
Feb 26, 2026