
You’ve walked into countless venues that felt flat and uninspiring until someone flipped a switch. That transformation didn’t require expensive renovations—just strategic lighting placement. Picture warm amber uplights washing blank walls while string lights create intimate pockets overhead. You don’t need a massive budget to achieve this professional look. With the right techniques and everyday materials, you’ll discover how lighting alone can completely reimagine any space’s atmosphere and character.
Key Takeaways
- Layer ambient LED strips, battery uplights, and tea lights at different heights to create depth without expensive fixtures.
- Position thrift store lamps and uplights 1-3 feet from walls at 15-30 degree angles for dramatic shadows.
- String fairy lights in canopy or zigzag patterns across spaces using warm white and amber tones for romance.
- Use mirrors, aluminum foil behind jars, and white sheets with projected colors to amplify existing light sources affordably.
- Adjust color temperatures from warm 2700K for intimate dining to cool 6500K for energetic dancing areas.
Master the Art of Layered Lighting on a Shoestring Budget

When you’re transforming a venue with limited funds, layered lighting becomes your most powerful tool for creating depth and atmosphere without breaking the bank.
Start with ambient lighting as your foundation—string warm white LEDs along walls or drape them across ceilings to establish a soft glow that embraces your guests. You’ll spend under $50 for commercial-grade strands that last years.
Add dimension by positioning battery-operated uplights behind furniture or plants, casting dramatic shadows that make spaces feel larger and more intimate. These budget friendly solutions cost $10-15 per light yet deliver professional results.
Place tea lights in mason jars on tables for flickering warmth at eye level. Mix heights and intensities—combine floor lamps from thrift stores with paper lanterns hung at varying lengths.
You’re not just illuminating; you’re sculpting with light, creating pockets of conversation and connection that draw people together naturally.
Transform Walls and Ceilings With Strategic Uplighting Placement

While most venue decorators overlook the vertical surfaces, strategic uplighting placement can transform bland walls and ceilings into architectural masterpieces that captivate guests from the moment they enter.
You’ll create depth by positioning lights at varying distances—place fixtures 1-3 feet from walls to highlight wall textures, or pull them back 4-6 feet for softer washes that envelope your space in warmth.
Master these uplighting techniques to maximize impact: angle lights at 15-30 degrees for dramatic shadows along textured surfaces, or go steeper at 45-60 degrees to graze brick, stone, or fabric panels.
You’re painting with light—cooler tones make spaces feel larger, while amber hues draw people together.
Position uplights behind furniture or plants to cast intriguing silhouettes that add visual layers.
For ceilings, place fixtures in corners pointing upward to eliminate harsh shadows and create an intimate canopy effect that makes guests feel embraced by your thoughtfully lit environment.
Create Magical Ambiance Using String Lights and Fairy Light Techniques

String lights and fairy lights transform ordinary venues into enchanting wonderlands that spark conversation and create Instagram-worthy moments your guests won’t forget.
You’ll create warmth and intimacy by weaving these delicate lights through unexpected spaces, drawing eyes upward and outward.
Master these essential string light designs for maximum impact:
- Canopy draping – Stretch lights from a central ceiling point to corners, creating a starburst effect that bathes guests in soft, golden glow.
- Zigzag patterns – Run lights back and forth across narrow spaces, adding depth while maintaining consistent illumination.
- Vertical cascades – Let lights fall like luminous rain from beams or branches, perfect for photo backdrops.
Your fairy light placements matter most in intimate zones.
Wrap them around pillars, thread through sheer fabrics, or cluster in glass vessels for concentrated sparkle.
Mix warm white with amber tones to enhance skin tones and create that coveted romantic atmosphere you’re after.
DIY Lighting Hacks Using Everyday Materials You Already Own

Why spend hundreds on professional lighting when mason jars, white sheets, and aluminum foil can transform your venue just as dramatically?
You’ll create stunning effects with items hiding in your kitchen cabinets right now.
Transform plain glass jars into luminous centerpieces by filling them with LED candle alternatives and wrapping twine around the necks. These battery-powered options eliminate fire hazards while casting the same warm, flickering glow across your tables.
Position aluminum foil behind each jar to double the light output through reflective surfaces.
Hang white bedsheets from ceiling beams and project colored lights onto them for instant architectural drama.
You’re creating massive light diffusers that soften harsh shadows and wrap your guests in gentle illumination.
Place mirrors strategically around your venue’s perimeter to bounce light into dim corners.
Even old CDs work as mini disco balls when you string them near windows.
These simple tricks multiply your existing light sources without adding a single fixture.
Color Temperature Secrets That Set the Perfect Mood for Any Event

Beyond creative DIY solutions, understanding color temperature transforms how your lighting affects guests’ emotions and energy levels throughout your event.
You’ll discover that warmer tones (2700-3000K) create intimate gatherings where conversations flow naturally, while cooler temperatures (5000-6500K) energize dance floors and networking spaces.
Master these color psychology principles to craft unforgettable atmospheres:
- Layer warm candlelight (2200K) with soft amber uplighting to build romance during dinner service.
- Transition to neutral white (4000K) during speeches for clarity and focus without harsh glare.
- Switch to dynamic cool blues (6500K+) when dancing begins to boost energy and movement.
Your lighting intensity matters equally—dim warm lights by 30% for cozy cocktail hours, then gradually brighten as activities shift.
Install simple dimmer switches on existing fixtures or use smart bulbs you can control from your phone.
These temperature adjustments cost nothing extra yet completely transform how guests experience each moment of your carefully planned event.
Frequently Asked Questions
How Much Should I Budget for Professional Lighting Equipment Rental?
You’ll typically spend $500-$2,000 for lighting rental, depending on your venue’s size and desired ambiance. Budget considerations include uplighting quantity, string light coverage, and specialty effects. Start with essential pieces, then add atmospheric touches.
What Safety Precautions Should I Take When Installing Temporary Lighting Fixtures?
You’ll need to secure all cables with tape or covers for proper wire management, and double-check fixture stability using safety chains. Test weight limits, keep pathways clear, and always have someone spot you on ladders.
How Far in Advance Should I Test My Lighting Setup Before an Event?
You don’t need weeks—just test your lighting rehearsal 48-72 hours before guests arrive. This event timeline lets you adjust shadows, replace bulbs, and perfect each intimate corner while leaving time for last-minute fixes.
Can I Use Outdoor Lighting Solutions for Indoor Venues Safely?
You can’t safely use most outdoor lighting indoors—they’re designed for weather resistance, not indoor safety standards. Instead, choose LED string lights labeled for both environments, ensuring they won’t overheat in your intimate space’s enclosed air.
How Do I Calculate the Electrical Load for Multiple Lighting Installations?
You’ll navigate electrical calculations like mapping constellations. Add each fixture’s wattage, divide by voltage for total amperage. Keep under 80% of your circuit capacity for safe load balancing. You’re creating magic within boundaries, darling.
Final Thoughts
You’ve discovered dynamic designs that dazzle without draining your dollars. Transform tired spaces into tantalizing venues by blending budget-friendly beams with brilliant creativity. Layer luminous levels, position powerful uplights, and weave whimsical wires overhead. Your everyday items become extraordinary effects when you harness hues and highlights strategically. Remember: remarkable radiance isn’t about spending spectacular sums—it’s about seeing spaces with fresh eyes and crafting enchanting atmospheres through clever, cost-conscious choices that leave lasting impressions.
Share On Pinterest!


Related Posts
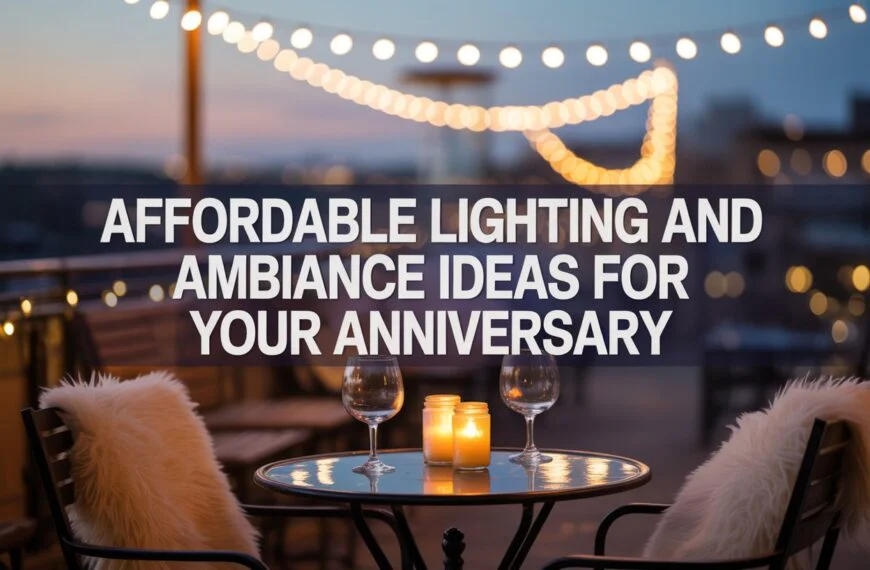
Affordable Lighting and Ambiance Ideas For Your Anniversary
Last updated: March 2026 Just a few budget-friendly lighting tricks can transform your anniversary into pure magic—but one surprising hack changes everything.
 Mar 14, 2026
Birthday Decoration Ideas: 30+ Stunning Ways to Transform Any Celebration in 2026
Last updated: February 2026 I'll never forget the birthday party that changed everything for me. My best friend handed me a $50 budget and said, "Make…
Feb 14, 2026
Corporate Event Stage Design Ideas That'll Wow Your Audience Without Blowing the Budget
Last updated: February 2026 Picture this: You walk into a corporate event and the stage literally takes your breath away. Curved LED walls pulse with branded…
Feb 12, 2026
Corporate Christmas Party Decoration Ideas That Wow Your Team Without Wrecking the Budget
Last updated: February 2026 Picture this: you've just been tapped as the person in charge of this year's office holiday party. The pressure is on, the…
Feb 12, 2026