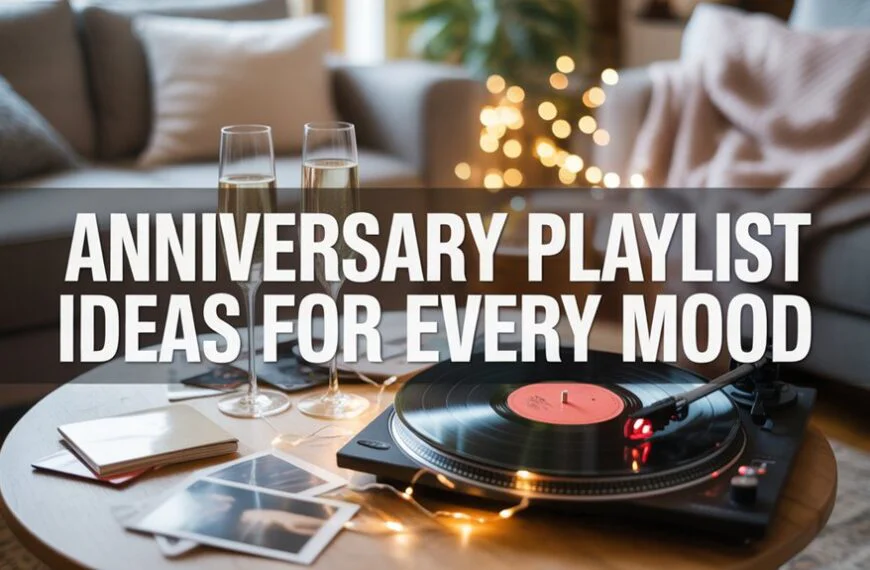

You’ve got the playlist, the bar setup, and the invites sent out—but what about the aesthetics? The most iconic parties these days are not only experienced but also captured, posted, and raved about well into the after-party.
From over-the-top balloon garlands to sweet little neon signs, styling adds that extra layer that takes a room from a simple gathering to something special.
No matter if it’s a small gathering or a large event, these ten inspo areas will help you transform your venue into an iconic party space.
Key Takeaways
- Create a balloon wall backdrop with layered sizes, metallic accents, and strategic lighting for a stunning photo destination.
- Design an interactive mirror selfie station with flattering lighting, themed props, and ring lights for confident guest photos.
- Set up a confetti-filled bathtub display using coordinated colors and LED lighting for a luxurious, shareable photo moment.
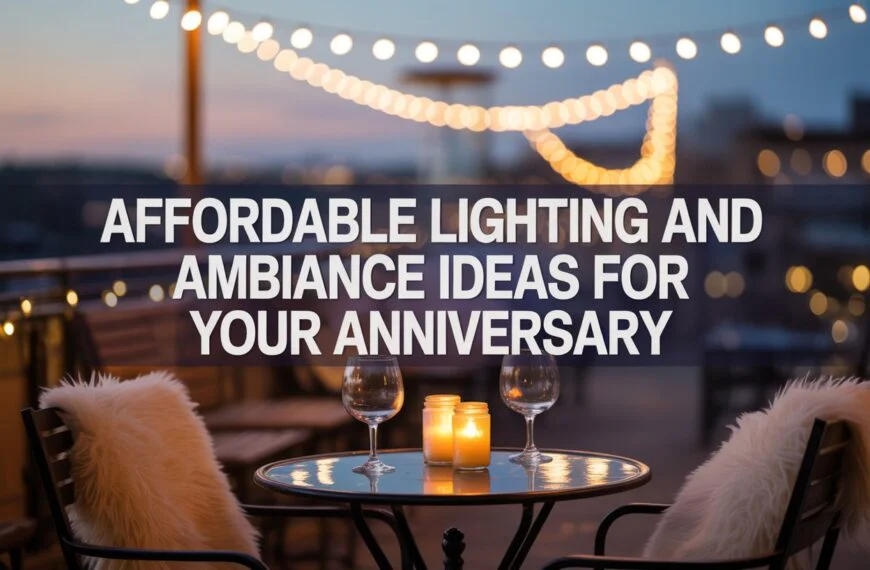
- Install ambient string lights overhead using consistent spacing to create a warm, photo-ready canopy effect throughout your space.
- Build a cozy neon sign corner with custom phrases, plush cushions, and fairy lights against dark walls for maximum impact.
The Classic Balloon Wall Backdrop

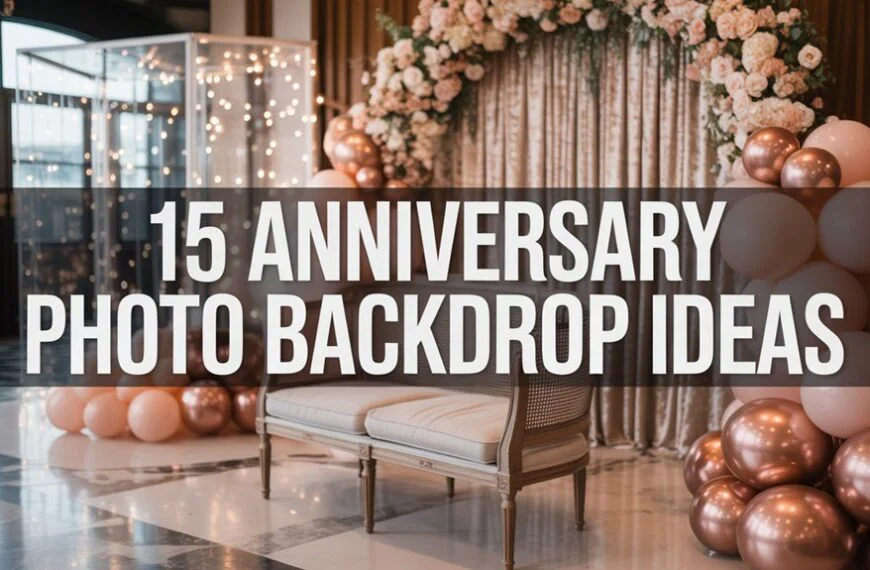
A balloon wall is the ultimate showstopper for a photo booth—you’ll have people queuing up all night to get their picture taken in front of this beauty.
Consider balloon color combinations that suit the vibe of your party. Want something romantic? Blush and gold balloons will set the perfect tone for a romantic evening. Going for sultry?
Black and burgundy is the ideal combo.
Learn some essential balloon arrangement tricks to make the wall look professional and stunning. Start with larger balloons and fill in gaps with smaller balloon clusters.
It’s all about creating dimensions—not just filling in a space. Consider incorporating metallic or dried florals in between balloons to make them pop in different lights.
Place your wall near some natural light or drape some string lights behind it to get that soft dreamy light.
Your guests will feel like they’re walking the red carpet. This experience is more than just a backdrop. It’s something you and your guests are creating together.
A Cozy Neon Sign Corner

While balloon walls deliver dramatic impact through texture and color, neon signs bring an entirely different energy—one that glows with modern sophistication and creates an irresistible magnetic pull for your guests.
Transform an underutilized corner into a luminous sanctuary where intimate conversations unfold beneath soft, ambient light. Your cozy corner design should layer plush velvet cushions, faux fur throws, and metallic accents that catch and reflect the neon’s warm glow.
When exploring neon sign ideas, consider custom phrases that speak to your gathering’s mood—think “Stay Awhile” or “Good Vibes Only.”
Position your sign at eye level against dark walls to maximize its radiance. Add trailing fairy lights and potted greenery to soften the space. Include a small side table for drinks, creating functionality within beauty.
This glowing retreat becomes where your guests linger longest, capturing photos that feel both polished and personal.
The Flower Wall Statement Piece

Transform any blank wall into a stunning focal point with a lush flower wall that commands attention and begs to be photographed.
You’ll need to decide whether to craft your own blooming backdrop using silk florals and a lattice frame or rent a professionally designed installation for seamless glamour.
Once your floral masterpiece is in place, strategic uplighting or soft fairy lights woven throughout will guarantee every snapshot captures that perfect, magazine-worthy glow.
The Flower Wall Statement Piece
Blooming from floor to ceiling, a flower wall creates an irresistible focal point that’ll have your guests lining up for their moment in front of the camera. You’ll want to select flower wall materials that match your party’s energy—silk blooms offer longevity while fresh petals deliver intoxicating fragrance.
Your flower wall arrangements should cascade dramatically, mixing textures and depths for dimensional impact.
| Style | Mood | Best For |
|---|---|---|
| Romantic Roses | Dreamy & Intimate | Engagement Celebrations |
| Tropical Orchids | Bold & Exotic | Summer Soirées |
| Wildflower Mix | Whimsical & Free | Garden Gatherings |
| Monochromatic Peonies | Elegant & Refined | Milestone Birthdays |
Position soft lighting at angles to illuminate petals and create that coveted golden-hour glow your guests crave.
DIY vs. Rental Options
Whether you’re craving creative control or seeking stress-free elegance, your choice between DIY and rental flower walls shapes both your budget and your party’s aesthetic impact.
DIY decorations let you handpick every bloom, mixing silk peonies with lush greenery to match your exact vision. You’ll spend intimate hours crafting something uniquely yours—a backdrop that tells your story.
Expect to invest time sourcing materials and assembling panels, but the personalized result feels authentically glamorous.
Rental services deliver instant sophistication without the labor. Professional installations arrive camera-ready, featuring premium florals and sturdy frames that photograph flawlessly.
You’ll free yourself to focus on hosting while experts handle setup and teardown.
Consider your timeline, budget, and desired involvement. Both paths lead to stunning photo moments worth remembering.
Lighting for Maximum Impact
Once you’ve secured your flower wall, strategic lighting becomes the magic that elevates it from beautiful to breathtaking. Master ambient lighting techniques by positioning uplights at the base to cast dramatic shadows through petals and create dimensional depth that photographs gorgeously.
| Lighting Element | Effect Created |
|---|---|
| Warm fairy lights | Romantic, intimate glow |
| LED uplights | Dramatic depth and texture |
| Ring lights | Flawless portrait illumination |
Understanding color temperature effects transforms your setup entirely. Warm tones (2700K-3000K) enhance blush and coral blooms while creating that coveted golden-hour aesthetic your guests crave. Cooler temperatures suit white arrangements but can wash out skin tones.
Position your primary light source at a 45-degree angle to eliminate harsh shadows and guarantee every selfie captures pure magic.
A Retro Polaroid Photo Station

Where better to capture spontaneous moments than at a dedicated Polaroid station that channels vintage Hollywood glamour?
You’ll want to curate a corner draped in velvet or satin, where guests can pose with vintage camera props scattered across a gilded tray. Stack old film boxes and leather camera cases to build visual depth that whispers of bygone eras.
The magic happens when you offer instant print fun—there’s something irresistibly intimate about watching a photo develop in your hands. Set out metallic markers so guests can scribble heartfelt messages on white borders, creating keepsakes they’ll treasure long after the night ends.
Hang a strand of fairy lights behind the station to cast that soft, dreamy glow everyone craves.
Add a full-length mirror nearby, and you’ve designed an experiential moment where connection and nostalgia intertwine beautifully.
The Themed Tablescapes Setup

From fleeting Polaroid moments, your guests’ eyes naturally wander toward the heart of any unforgettable gathering—a tablescape that commands attention and begs to be photographed. Your themed decor becomes the visual anchor where conversations spark and connections deepen.
Transform ordinary table settings into immersive experiences that whisper luxury and intentionality. Layer textures—velvet runners beneath gilded chargers, crystal catching candlelight, fresh blooms cascading across linen.
| Theme | Signature Elements |
|---|---|
| Midnight Garden | Black candles, dark florals, gold flatware |
| Coastal Luxe | Driftwood centerpieces, sea glass accents, ivory linens |
| Art Deco Soirée | Geometric vessels, metallic touches, jewel tones |
Position your tablescape near natural light during golden hour, or create dramatic shadows with strategic candle placement for evening affairs. Every napkin fold, every placed stem tells your story. Your guests won’t just dine—they’ll capture and share these curated moments, extending your party’s magic far beyond the evening itself.
A Glowing String Light Canopy

Transform your space into an enchanting retreat by selecting the perfect string lights—whether you prefer classic warm-white LEDs, whimsical globe bulbs, or dramatic Edison strands that make a bold statement.
You’ll want to secure your canopy using strategic anchor points across the ceiling, layering strands at varying heights to create depth and visual intrigue.
Once installed, dim surrounding lights and let your luminous installation cast that coveted golden-hour glow that’ll have guests snapping photos all night long.
Choosing Light String Types
How do you create that ethereal, Instagram-worthy glow that stops guests mid-conversation? You’ll want to contemplate color temperatures first—warm whites evoke intimacy, while cool tones feel modern and crisp.
Your essential light string options include:
- Fairy lights with battery packs for effortless installation ease and magical sparkle
- Globe lights offering bold, statement-making illumination that photographs beautifully
- Curtain lights creating dramatic backdrops your guests can’t resist posing against
- LED strips with dimmable features for adjustable ambiance throughout the evening
Don’t overlook practical considerations. Solar options work wonderfully for outdoor canopies, while waterproof choices protect your investment during unexpected weather.
Mix different string types to layer your lighting design, building depth that transforms any space into an unforgettable, photo-ready experience.
Installation Tips and Tricks
While string lights captivate with their dreamy allure, you’ll need strategic installation to achieve that flawless canopy effect.
Start by gathering your installation materials: cup hooks, clear command strips, and fishing line for invisible support. These essentials create that magical floating appearance your guests will adore.
Master these setup techniques for stunning results. Anchor your central point at the ceiling’s highest spot, then drape strands outward in sweeping arcs toward the room’s corners.
You’ll want consistent spacing—roughly twelve inches between lines creates intimate warmth without overwhelming the space.
Don’t rush the process. Test your layout before securing anything permanently. Dim the overhead lights, step back, and assess the glow’s coverage.
Adjust until every angle offers that enchanting, photo-ready ambiance you’re craving.
Creating Ambient Glow Effects
Once you’ve secured your canopy framework, you’ll want to layer different bulb temperatures to craft dimension and depth.
Mix warm amber Edison bulbs with cooler fairy lights to create that irresistible luminous atmosphere your guests won’t stop photographing.
Master these ambient lighting techniques for unforgettable allure:
- Dim your overhead lights to 30% so your canopy becomes the room’s focal point
- Weave glow in the dark decor through greenery for unexpected magic
- Add sheer fabric panels that catch and diffuse light sensually
- Position mirrors strategically to multiply your canopy’s radiance
You’re crafting more than illumination—you’re designing an experience.
The soft, cascading glow draws people closer, encourages whispered conversations, and transforms ordinary corners into intimate sanctuaries where memories crystallize.
The Mirror Selfie Station

Because every memorable house party deserves a dedicated spot for capturing the night’s best looks, a well-designed mirror selfie station transforms an ordinary wall into a magnetic focal point.
You’ll want to explore mirror frame ideas that speak to your aesthetic—think gilded baroque edges for old Hollywood glamour or sleek black frames for modern sophistication.
Position your mirror where soft, flattering light kisses every angle. You’re creating an intimate corner where guests feel their most confident and beautiful.
Stock your station with curated selfie props that elevate each shot: feathered boas, vintage sunglasses, or sparkling tiaras. Arrange them on a velvet-draped side table within arm’s reach.
Add a ring light nearby to banish harsh shadows and give skin that coveted glow. Your guests will linger here, striking poses and making memories.
This station becomes where connections happen—where strangers become friends over shared laughter and perfect shots.
A Confetti-Filled Bathtub Display

Transform your bathtub into the ultimate photo destination by selecting confetti in metallic golds, holographic silvers, or colors that pop against your bathroom’s aesthetic.
You’ll want to position ring lights or string lights strategically to create that coveted glow that makes every snapshot look magazine-ready.
Complete the scene with oversized champagne glasses, silk robes, or quirky inflatable props that invite guests to strike their most glamorous poses.
Choosing Confetti Colors Wisely
Why settle for ordinary when you can create a showstopping confetti-filled bathtub that’ll dominate everyone’s social feed?
Your color combinations set the entire mood. You’ll want to match your confetti types to your party’s aesthetic—metallic golds and champagne hues whisper luxury, while bold fuchsias and electric blues scream celebration.
Consider these stunning pairings:
- Rose gold and blush pink – Perfect for intimate gatherings with a romantic vibe
- Holographic and iridescent mixes – They’ll catch light beautifully in photos
- Monochromatic schemes – Create sophisticated depth with varying shades
- Contrasting metallics – Gold against silver delivers dramatic impact
Stick to two or three colors maximum. You’re crafting an immersive experience, not visual chaos.
Test your confetti types beforehand—some photograph better than others, and you deserve that perfect shot.
Lighting Your Bathtub Scene
Once you’ve nailed your confetti color scheme, lighting becomes your secret weapon for capturing that magazine-worthy shot.
Position ring lights at a 45-degree angle to eliminate harsh shadows while creating that coveted glow across your bathtub bubbles. You’ll want soft, diffused illumination that makes every metallic piece shimmer.
Layer your sources strategically. Place LED strips behind the tub’s edge for dramatic backlighting, then introduce candle ambiance through clusters of pillar candles at varying heights. This creates depth and warmth that overhead fixtures simply can’t replicate.
Consider dimmable options so you control intensity throughout the evening.
When your guests sink into that glittering display, the interplay between flickering flames and confetti reflections transforms an ordinary bathroom into an unforgettable, intimate photo destination.
Adding Fun Party Props
Five essential props elevate your confetti bathtub from simple setup to showstopping centerpiece.
Match Your Party Themes
Your prop sourcing should reflect the evening’s aesthetic. Consider these statement pieces:
- Oversized champagne glasses – Position them on the tub’s edge for guests to hold while posing
- Metallic letter balloons – Spell out initials, ages, or celebratory words behind the display
- Faux fur throws – Drape luxuriously over the tub’s rim for texture and warmth
- LED string lights – Weave through confetti for that dreamy, intimate glow
Create Tactile Moments
You’ll want props guests can interact with—feather boas they’ll wrap around shoulders, vintage hand mirrors for playful reflection shots.
Layer textures deliberately. Mix glossy with matte, soft with sparkly. Each element should invite touch and encourage guests to linger in your curated moment.
The Outdoor Fire Pit Lounge

When the sun dips below the horizon, your outdoor fire pit lounge transforms into the ultimate gathering spot where flames dance against the night sky.
You’ll want to prioritize fire pit safety by keeping a clear perimeter and having a spark screen ready, ensuring your guests feel secure while they mingle.
Your seating arrangements should encourage connection—think plush outdoor sofas and oversized floor cushions positioned in a cozy semicircle.
Drape faux fur throws across armrests for that luxe texture guests can’t resist touching.
String Edison bulbs overhead to create layered warmth that photographs beautifully.
Add metallic lanterns and pillar candles at varying heights to amplify the ambient glow.
Place a sleek bar cart nearby stocked with ingredients for warm cocktails.
This intimate setting invites whispered conversations and lingering glances.
Your guests will capture stunning silhouettes against flickering flames—images they’ll treasure long after the embers cool.
A DIY Red Carpet Entrance

Though velvet ropes and paparazzi flashbulbs belong to Hollywood premieres, you can recreate that A-list arrival experience right at your front door.
When selecting red carpet materials, choose durable outdoor runners that withstand foot traffic while maintaining that luxurious sheen your guests deserve.
Transform your entrance decoration ideas into reality with these essential elements:
- Stanchions with velvet rope – Position these along your walkway to guide guests toward their moment in the spotlight
- Ring lights or uplighting – Cast flattering golden hues that make everyone look camera-ready
- A personalized step-and-repeat backdrop – Feature your party’s theme or monogram for instant social media content
- Welcome signage – Add glamorous lettering that announces the evening’s affair
You’re not just decorating; you’re designing an experience.
This intimate threshold moment sets the tone, telling each arrival they’ve entered somewhere extraordinary tonight.
Frequently Asked Questions
How Much Should I Budget for Setting up Multiple Photo Spots at My Party?
You’ll want to budget $50-150 per photo spot for cost effective decorations that still deliver glamorous details. Your budget breakdown should prioritize bold styling elements—think luxe fabrics, dramatic lighting, and experiential design touches that’ll captivate your guests.
What Time of Day Provides the Best Lighting for Indoor Party Photos?
You’ll capture magic when golden hour bathes your space in warm, honeyed tones. Position your photo spots near windows where natural light cascades softly, creating that irresistible glow that makes every guest feel like a star.
How Do I Prevent Guests From Damaging or Dismantling the Photo Backdrops?
You’ll want to establish guest etiquette with charming signage near your installations. Choose durable backdrop materials like sturdy frames and secured fabrics that withstand enthusiastic posing while maintaining that luxe, experiential design you’ve carefully curated together.
Which Smartphone Apps Work Best for Editing Party Photos Quickly?
You’ll absolutely transform your snapshots into stunning masterpieces! Try Lightroom or VSCO for incredible filter options and intuitive editing features. These apps let you create bold, glamorous looks that’ll make your party memories feel impossibly beautiful.
How Far in Advance Should I Start Setting up These Photo Stations?
You’ll want to start your photo station timeline 2-3 hours before guests arrive. Add this to your party setup checklist: arrange bold styling elements, perfect your experiential design details, and test lighting for those intimate, glamorous moments.
Final Thoughts
You’ve now got the blueprint to transform your space into a dazzling, photo-ready paradise. Picture your guests weaving through shimmering balloon arches, posing against lush floral backdrops, and capturing golden-hour moments by the crackling fire pit. Every corner you’ve designed becomes a stage for memories that’ll live forever on camera rolls and feeds. So dim those lights, fluff those flowers, and let your stunning soirée begin.
Share On Pinterest!


Related Posts

Home Birthday Party Decor Ideas for Adults: 20+ Stunning Ways to Celebrate at Home Like a Pro
Last updated: February 2026 Let me tell you something most people overlook: you don't need a rented venue to throw a jaw-dropping birthday celebration. Your living…
 Feb 26, 2026
Train Birthday Party Ideas: 20+ Ways to Create a Show-Stopping Celebration on Any Budget
Last updated: February 2026 There's something magical about trains. The rumble of the engine, the clickety-clack of the tracks, the adventure of going somewhere new —…
Feb 26, 2026
Brunch Birthday Party Ideas for Women: 30+ Ways to Celebrate Her in Style
Last updated: February 2026 Last updated: February 23, 2026 A birthday brunch is one of the smartest ways to celebrate a woman you love, whether it's…
Feb 23, 2026
Backyard 40th Birthday Party Ideas That Turn Your Yard Into the Hottest Venue in Town
Last updated: February 2026 Turning 40 is a big deal. It's that gorgeous intersection of wisdom, confidence, and finally knowing exactly what you want—so why celebrate…
Feb 16, 2026